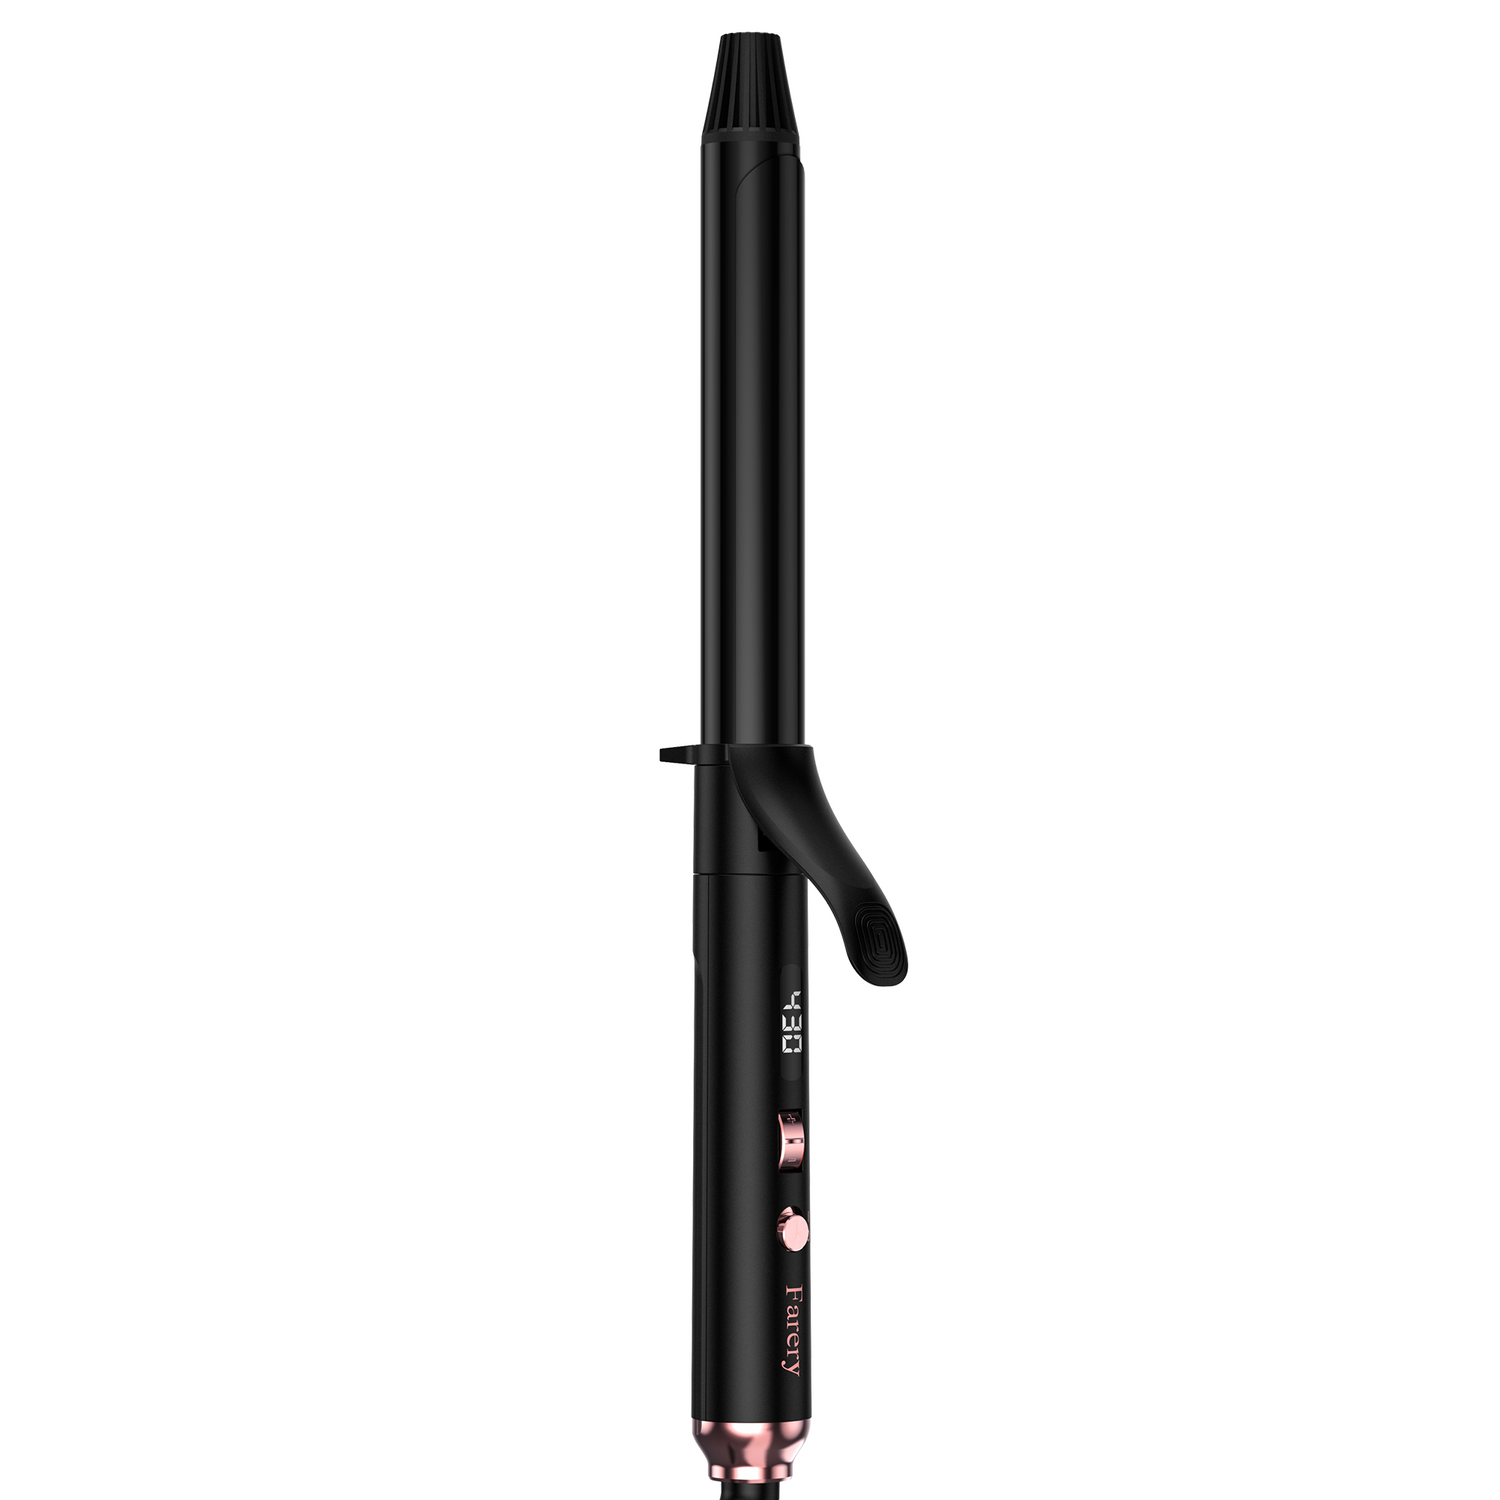
How to Create Stunning Curls with the Farery Curling Iron: A Step-by-Step Guide
Share
Introduction:
Whether you're preparing for a night out, a special event, or just want to add a little extra volume to your everyday look, curling irons are an essential tool in every beauty arsenal. At Farery, we believe everyone deserves the perfect curls — and with our Farery Curling Iron, you can achieve flawless, salon-quality curls in the comfort of your own home.
If you're new to curling irons, don't worry! This guide will walk you through the basics of using our Farery Curling Iron to create beautiful curls that last all day.
Step 1: Prepare Your Hair for Styling
The key to a long-lasting, healthy curl starts with good preparation. Before you begin, make sure your hair is clean, dry, and free of tangles. You can apply a heat protectant spray to prevent any damage from styling tools.
Pro Tip: For best results, it's ideal to work with hair that's a little less than perfectly clean — hair that has some texture from the previous day holds curls better.
Step 2: Set the Right Temperature on Your Farery Curling Iron
Our Farery Curling Iron comes with adjustable heat settings, making it suitable for all hair types.
- Fine or Damaged Hair: Use a lower heat setting (around 300°F).
- Medium or Normal Hair: Set the temperature to around 350°F.
- Thick or Coarse Hair: Set it to the highest setting (up to 410°F).
Remember, the higher the heat, the quicker you’ll achieve the curl, but always be mindful of your hair type and avoid overexposing it to heat for too long.
Step 3: Divide Your Hair Into Sections
Start by dividing your hair into sections. This makes the process more manageable and ensures that every strand gets curled. Use clips or hair ties to keep sections separated.
- Top Layer: This will be the last section to curl, but the most visible.
- Bottom Layer: Start curling the bottom layers first and work your way up.
Step 4: Curling with the Farery Curling Iron
Here’s where the magic happens! Take a small section of hair (about 1 to 2 inches thick) and clamp it with the curling iron. Roll the hair around the barrel, holding it in place for 5-10 seconds (depending on your desired curl tightness and hair type).
- For Loose Waves: Don’t curl the hair all the way to the roots. Leave about an inch of hair out for a more relaxed, beachy look.
- For Defined Curls: Wrap the hair tightly around the barrel and hold it for a few more seconds.
Pro Tip: To create more volume at the roots, you can flip the curling iron upside down while curling the bottom layers.
Step 5: Release & Repeat
Carefully release the curl and allow it to cool for a few seconds to set in place. Don’t touch the curl while it’s still hot — this can cause it to fall apart prematurely. Repeat this process throughout your hair, working in small sections.
Step 6: Finishing Touches
Once all sections are curled, give your hair a gentle shake or tousle it with your fingers to break up the curls and create more texture. For a more polished finish, you can lightly comb through the curls with a wide-tooth comb.
To lock in your style, spritz with a flexible-hold hairspray. This helps your curls last all day long without the crunchiness.

Conclusion:
Achieving beautiful, bouncy curls with the Farery Curling Iron is easy when you follow these simple steps. Whether you're looking for loose waves or tight, voluminous curls, our curling iron offers the flexibility to create any style you desire. With its sleek design and user-friendly features, it's a must-have tool for anyone looking to elevate their hair game.
Ready to transform your hair with the Farery Curling Iron? Visit our website to get yours today and start curling like a pro!


